
What an AI Real Estate Photo Editor Should Actually Fix
The best listing-photo AI makes the real room easier to read, not harder to trust.
The most useful AI real estate photo editor does not start by asking, "How can we make this room look expensive?"
It starts with the quieter, more profitable question: "What is making buyers work too hard to understand this photo?"
That difference matters. Agents do not need every listing image to become a fantasy renovation. They need ordinary property photos to feel clear, credible, and ready for the listing grid. Better light. Cleaner color. Straighter lines. Fewer little distractions. Same home, better photo.
The job is buyer comprehension
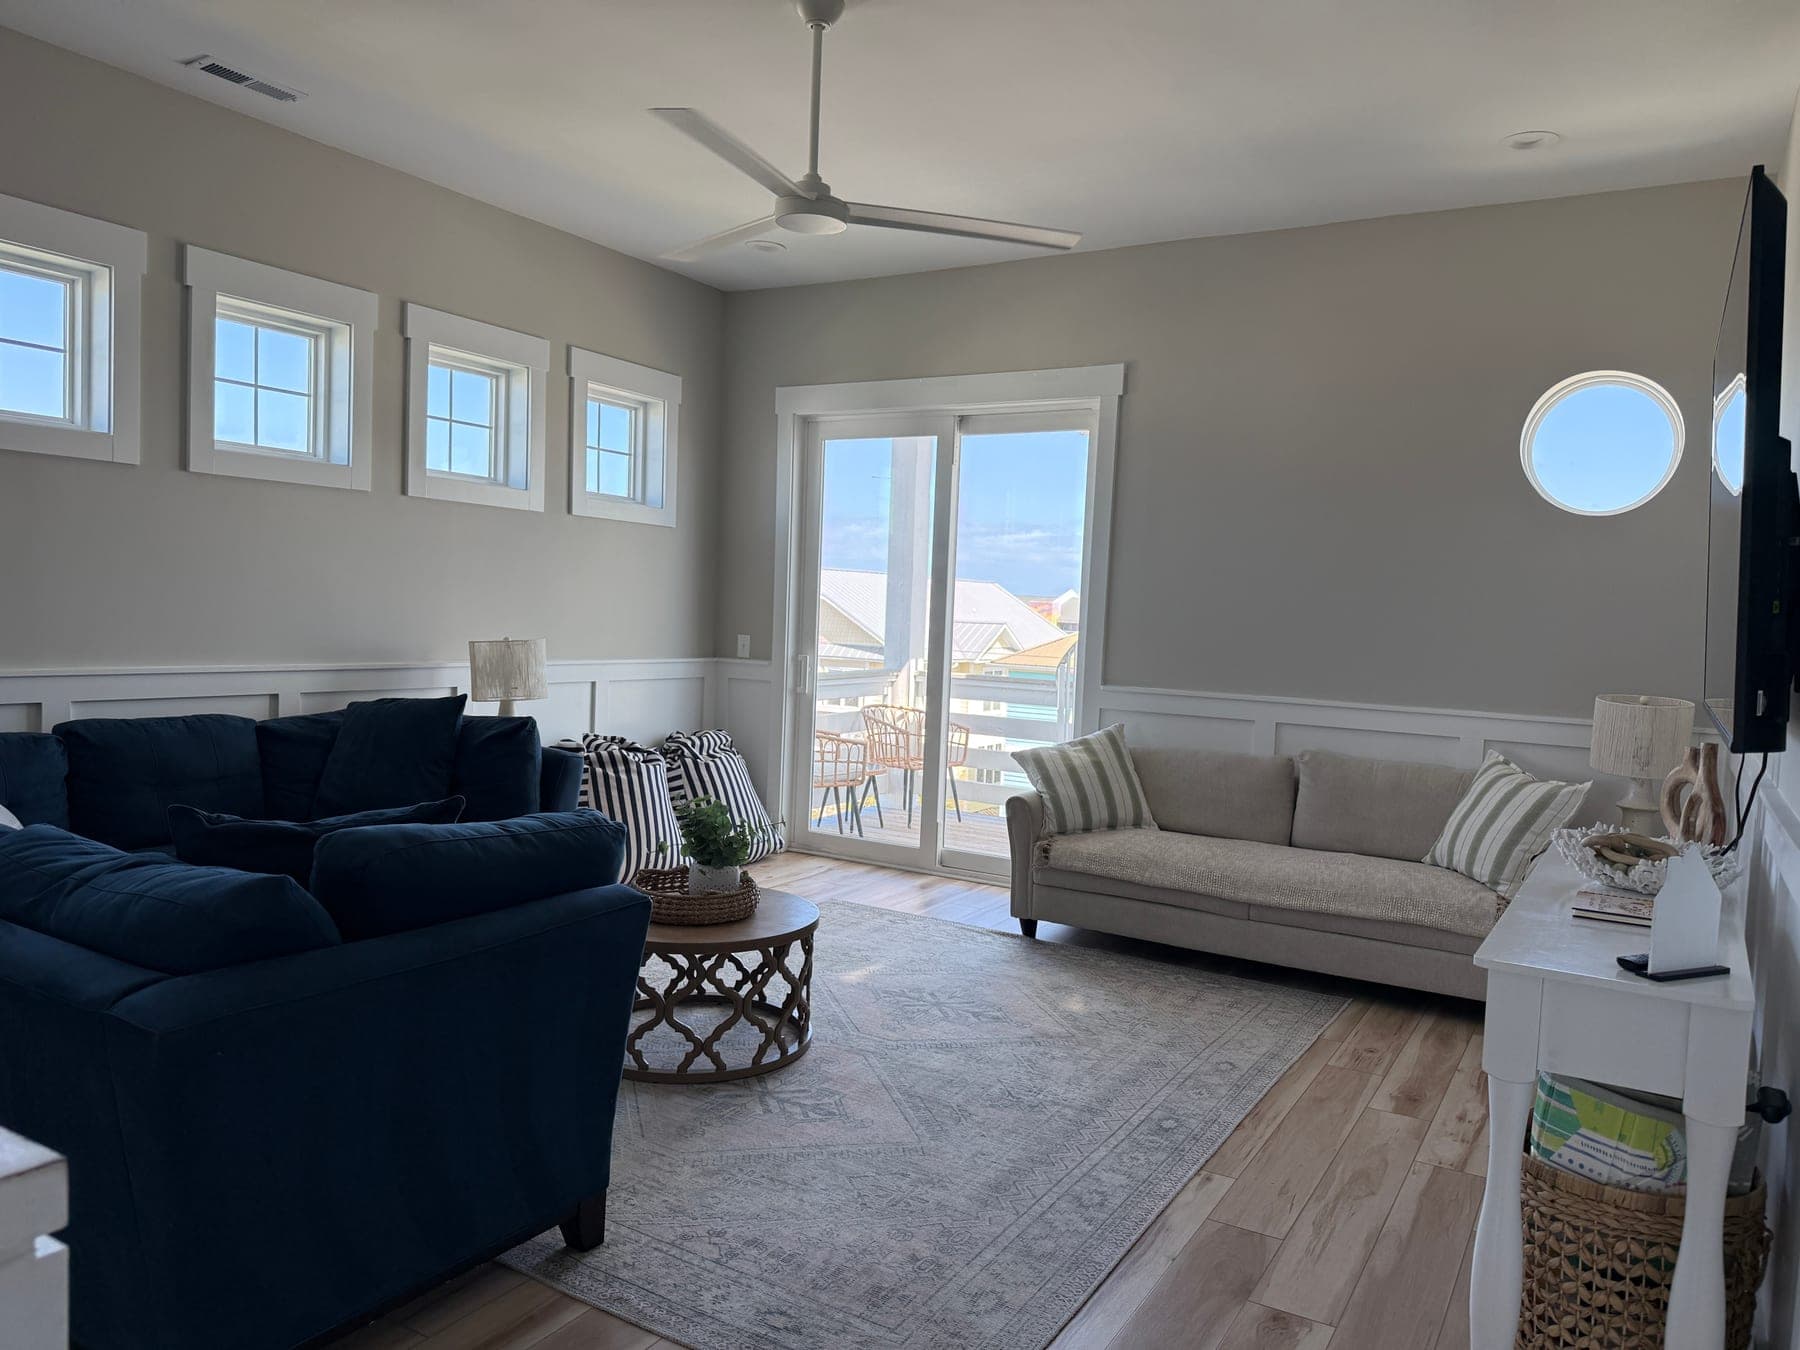
A listing photo has one practical job before it has any aesthetic job: help the buyer understand the property fast.
When a photo is dim, crooked, muddy, or visually busy, the buyer has to spend attention on the image before they can spend attention on the room. That is the hidden cost. The home may be perfectly good, but the photo is adding friction.
A strong AI listing photo editor should remove that friction first. It should make the room feel closer to how it felt when you were standing there, without inventing facts the buyer will not find at the showing.
1. Fix lighting before style
Lighting is usually the first place a listing photo loses the room. Shadows get heavy. Windows blow out. White bedding goes gray. A decent living room starts to feel smaller or colder than it really is.
Good AI photo enhancement should brighten the space while keeping the windows, walls, floors, and fixtures believable. The goal is a clean listing-photo glow-up, not a room that looks like it was lit by six invisible studio lights.


2. Clean up color so the home feels true
Bad color is sneaky. It can make warm floors look orange, white walls look yellow, gray paint look dull, and fabrics feel flat. Buyers may not name the problem, but they can feel that the image is a little off.
This is where AI magic should be practical. Correct the color so the materials read naturally. Keep wood tones warm but not loud. Keep whites clean but not blown out. Make the image feel polished without sanding away the real character of the room.
3. Make phone photos feel steadier
A lot of usable listing photos start as fast phone shots. The room is there, but the image has the tiny tells: tilted verticals, too much dead ceiling, a crop that makes the bed or sofa feel cramped, or a window pulling the whole frame off balance.
The fix is usually boring in the best way. Straighten the photo. Crop with intent. Let the important part of the room sit where the eye can understand it. This kind of edit is not dramatic, but it makes the listing set feel more professional immediately.
4. Calm small distractions without changing the property
The best edit is often the one a buyer never thinks about. A cord gets less noticeable. A dark TV stops pulling the eye. Glare softens. A trash can, shadow, or odd reflection stops being the first thing in the thumbnail.
Keep the line clean: improve presentation, do not rewrite the home. Do not change room size, hide material defects, add windows, replace permanent finishes, or make a view appear that is not really there. Better photos, same home.


5. Make the gallery feel like one listing
One polished hero image helps. A consistent gallery helps more.
Buyers move from the exterior to the living room to the bedroom to the bathroom in seconds. If every image has a different color cast, crop, brightness level, and phone-photo feeling, the listing starts to feel patched together. A good AI real estate photo editor should help the set feel like it belongs to one property.
That is especially useful for agents working quickly, listing coordinators pulling photos from multiple sources, property managers refreshing rental inventory, and sellers who took "good enough" phone photos before realizing the listing needed a little more polish.
What an AI editor should not fix
The easiest way to lose trust is to let the image improve the property instead of improving the photo.
For normal listing-photo polish, keep architecture, layout, finishes, fixtures, windows, doors, and views honest. If the edit adds furniture or decor, treat it as virtual staging and label it clearly where listing rules require it. If the seller's furniture is the issue, use Room Reset as a before/after planning tool, not as a quiet claim that the room was empty in real life.
Trust is not the boring part of the workflow. It is what lets agents use better images with confidence.
A practical agent workflow
- Pick the cover photo and the first five gallery images.
- Run a clean listing-photo polish pass before chasing bigger edits.
- Check the before and after as a thumbnail and at full size.
- Keep the original handy for review and seller conversations.
- Use heavier disclosure language only where the edit materially changes what the buyer might believe exists.
This is the commercially useful version of an AI listing photo editor: fewer weak first impressions, faster listing prep, and photos that make the real home easier to understand.
Try it on the photo that feels almost ready
Start with one image that is close, but not quite MLS-ready. Upload it to Turtl, ask for a clean listing-photo polish pass, and compare the result against the original.
If buyers can understand the room faster, the edit did its job.
Try Turtl on one listing photo, see Turtl for real estate agents, or check credits and pricing.